Ripple Art card

I was poking through a selection of coloring books and sketch books at the store yesterday, when I saw a book on Ripple Art coloring.  Apparently, the idea is to surround the various images on the page with concentric lines until all the white space is filled.  I would have immediately dismissed this as a stupid idea except that when I was in high school, that is exactly how I doodled - concentric lines filling all the empty space on the page.  Who would have thought it would become a trend?

I don't need a coloring book when I have stamps, do I?


I decided to carry through the school supply concept by coloring in colors that were similar to highlighter pens.  It was fun to do, and very different from any other card I've made, I think.  The stamps are from the basket case stamp set by Amuse Studio.


Cute Bat

When one of your children begins a question with "Can you make a card..." the answer is always yes, even if the rest of the sentence is "... with a bat on it?"  I don't have a single bat stamp, but I wasn't going to let that stop me, I just asked what the occasion was.  It was for a coworker in the hospital, and my son wanted it to be as cute a bat as possible.  I told him I would have it for him by noon the next day, which was fine with him.

Here is as cute a bat as I am capable of making:
That  should be enough to generate a squee.  All the papers used were scraps lying about.


Last Treasure Box cards from the May 2016 kit.

So much going on in my life!  However, I need to complete at least 3 cards a week to justify my 
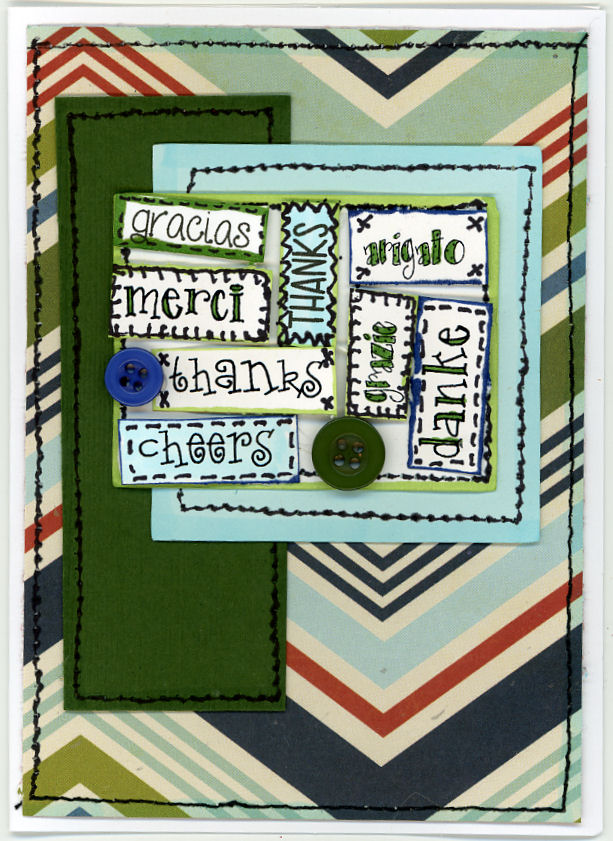
Treasure Box Shuffled Cards membership, so I knocked out the last 3 of the set this week.  The background paper is from  Fancy Pants designs, and has a nice woven texture to it.  I love that I got paper from three different companies in this one kit.

The ice cream card didn't come with a sentiment, but I just bought the word die, so I thought I'd pop it in there.  I lost the  "hello" sentiment (it was on vellum, and it's still lost in the pile on my desk), but it was printed in a handwriting font, so I just handwrote a new one on a scrap of cardboard.  I'm not that huge a fan of vellum, anyway.

So, what did I need that didn't come in the kit?  An ultrafine marker for the pen work, a white pen, adhesives including pop dots and vellum tape, a crop-o-dile (or other eyelet setting gear), a crimper (but any type of dry embossing would work just as well), and inks for edging.  I tried both distress inks applied with a sponge, and markers, and both would work equally well.  If you are already a card-maker or a scrapbooker, you probably have everything you would need, and if you aren't, the tools you would need to buy are the most common and popular tools that are out there - it would be a good investment if you wanted to make a habit of it.

Two more Treasure Box cards

My July kit just came in the mail today, so I need to get to work and finish this one!  These two cards were so nice I made them just like the instructions.

The "Operation" card was the main reason I wanted to do this particular kit - it is just too cute, and perfect for someone recovering from surgery!  I have a friend who is getting a hip replacement in a couple of weeks - I'm sure she will appreciate this card.

Treasure Box - May 2016 - 4th card

For the second set of 3 cards, the kit uses a paper from Simple Stories.  I don't even know this company, but I do like the paper.  It is brick red with big white dots on the reverse.  Here is the sample for the card:
It's a small card, so I had to make it bigger.  I also decided that I needed more languages represented, and finally, I wanted to try a different edging technique, so I did some stitching, both faux and real:

The original has vellum in it, too, so I'm sorry that I didn't get to use it, but I have enough "Thanks" and other paper to make another card, so maybe I will.